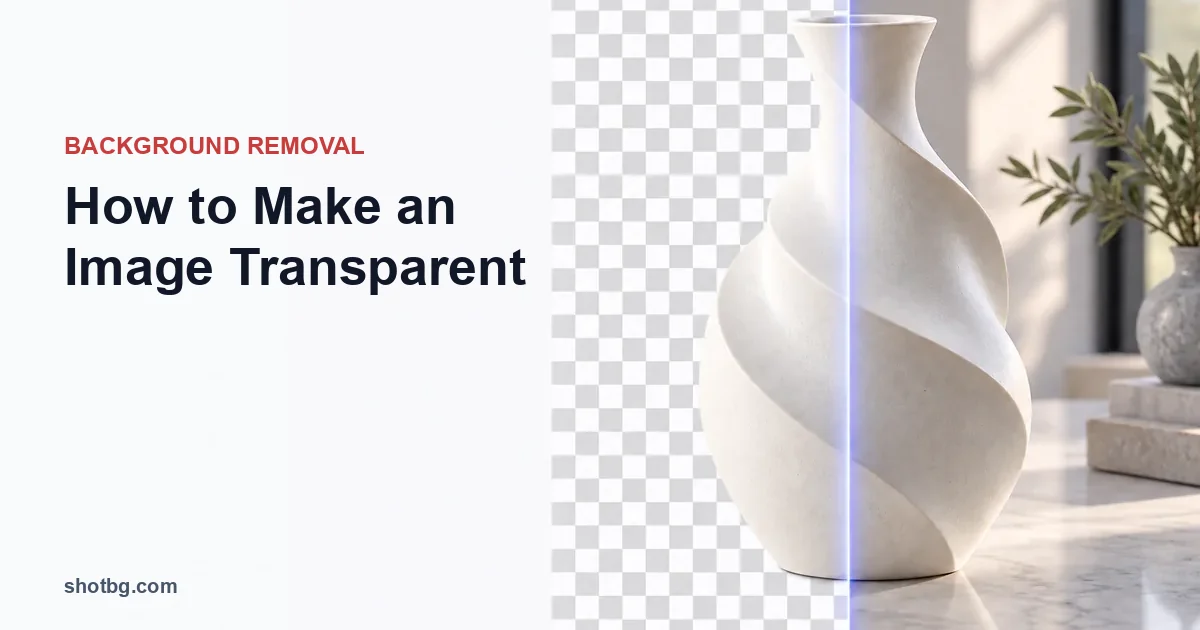
"Make an image transparent" means one of two different things, and the right steps depend on which you want. Either you want a transparent background — the subject kept, everything behind it erased to see-through pixels — or you want the whole image made see-through, lowering its opacity so a watermark or overlay lets the layer beneath show through. The first is a background-removal job that ends in a PNG; the second is an opacity edit inside a photo editor. Below is the exact workflow for each, plus the one rule that ties them together: transparency only survives in a format that supports an alpha channel, so you must save a PNG or WebP — a JPEG cannot hold it.
First decide which "transparent" you need
- Transparent background. You want to lift a product, logo, person, or signature off its background so it can sit on any color or scene. The result is a cutout on see-through pixels. This is the common case for e-commerce photos, logos, and design assets.
- See-through (reduced opacity) image. You want the entire picture — background and all — to become semi-transparent, so it works as a faint watermark, an overlay, or a background behind text. Nothing is erased; the pixels just get an opacity below 100%.
Pick the one that matches your goal before you open any tool — the two paths do not overlap, and doing the wrong one wastes time.
Make the background transparent (the common case)
The fastest route is an AI background remover; the most precise is a manual editor. Both end in a transparent PNG.
- Open an AI background remover such as ShotBG and upload your image (PNG, JPG, or WebP).
- Let it detect the subject and erase everything else. ShotBG returns a transparent-background PNG in one step; you can also drop the cutout onto a clean studio scene, and Pro can generate a described background instead.
- Download the result. The file is a PNG with real transparent pixels — check it on a colored surface, not a white page, to confirm the background is genuinely gone.
Results depend on the source photo: even lighting, clear separation between subject and background, and simple edges give the cleanest cut. Hair, transparent glass, and low-contrast edges may still need a manual pass — no automatic tool guarantees a perfect edge on every image.
For hand-corrected edges, use a manual editor. Photoshop's one-click Remove Background, Object Selection, and layer masks give full control — the remove background in Photoshop guide walks through it. If you want a free desktop option, the remove background in GIMP tutorial covers selecting the subject, adding an alpha channel, and exporting a transparent PNG. For the full picture of how removal fits together, see how to remove background from an image.
ShotBG removes backgrounds in seconds with AI. Free for your first image — no signup required.
Make the whole image see-through (lower its opacity)
This is a different job — you are not erasing anything, just reducing the opacity of the entire layer. ShotBG does not have an in-app opacity slider; it removes backgrounds. To lower a whole image's opacity, use a layered editor:
- Open the image in a layered editor — Photoshop, GIMP, Photopea (free, in-browser), or Canva.
- If the layer is locked as a "Background," unlock it first (in GIMP, add an alpha channel via Layer → Transparency → Add Alpha Channel).
- Lower the layer's Opacity in the Layers panel to the level you want — 30–50% is typical for a watermark or an overlay behind text.
- Export as PNG (or WebP) so the reduced opacity is preserved. Flattening to JPEG will merge it onto a solid color and lose the see-through effect.
If you want the image see-through and the background gone — a faint transparent-background watermark — remove the background first (section above), then lower the cutout's opacity in the editor.
Save it right or the transparency disappears
This is where most transparent images go wrong. The pixels can be perfectly transparent inside the editor and still come out solid once you save:
- Use PNG or WebP. Both support an alpha channel. A JPEG cannot store transparency and will fill the see-through areas with a solid color (usually white or black). The transparent background images guide explains alpha channels and format support in depth.
- Do not "flatten" or "merge visible" before exporting if you need to keep transparency — flattening drops the alpha channel.
- Verify on a colored surface. Open the file over a bright background or in a viewer that shows a checkerboard. A white preview page can hide the fact that the background is still solid white.
- Watch file size on WebP. WebP holds transparency at a smaller size than PNG and is well supported on the modern web — a good choice for site graphics where PNG would be heavy.
Common questions
- Can I make a JPG transparent? Not while it stays a JPG. Open it, make the background transparent or lower its opacity, then save as PNG or WebP — the transparency lives in the new file, not the JPG.
- Which format for a logo? PNG. Logos need crisp edges and a transparent background so they sit on any color; PNG's lossless alpha is the standard.
- Why does my "transparent" image show a white box? It was saved as a JPEG, or it was flattened before export. Re-export as a PNG without flattening.
- Can ShotBG make an image semi-transparent? No — ShotBG removes backgrounds and returns a transparent-background PNG. Whole-image opacity is a layer edit you do in a photo editor.
Upload your image and get a transparent PNG instantly. Works for products, portraits, and graphics.
Try it
Making the background transparent is the one most people are after. Make a transparent-background PNG with ShotBG — your first image is free, with no signup. Then, if you need the cutout as a faint watermark, take that PNG into a layered editor and dial down its opacity.


